
Table of Contents
House numbers on curbs serve as vital identifiers for your home, ensuring easy recognition for visitors, delivery services, and emergency responders. They play a crucial role in enhancing safety and efficiency, enabling swift navigation through neighborhoods and facilitating prompt assistance during emergencies. In this comprehensive guide, we’ll take you through the step-by-step process of painting house numbers on curbs, transforming them into clear, visible markers that leave a lasting impression.
Importance of Painting Visible House Numbers on Your Curbs
Ensuring that your house numbers are clearly visible on your curb is essential for several reasons. It enhances the curb appeal of your property and plays a crucial role in safety and convenience for emergency responders, delivery drivers, and guests. Visible house numbers make it easier for them to locate your home quickly and accurately, especially in case of emergencies or when navigating unfamiliar neighborhoods. Additionally, painted curb numbers can deter potential burglaries by clearly marking your property and making it easier for law enforcement to identify addresses.
10 Steps to Paint House Numbers on Your Curb
Follow these ten essential steps to ensure your home stands out and remains easily identifiable for visitors and emergency services alike, with a clear and professional house number painting. This guide will show you how to paint curb numbers effectively.
Step 1: Gather Necessary Materials
Before starting the painting process, gather all the materials you’ll need. This includes house number stencils or templates, painter’s tape, a measuring tape, a pencil or chalk, outdoor paint in your desired color, paint brushes or rollers, and protective sealant. Ensure you have everything on hand to avoid interruptions once you begin the project.
Step 2: Clean the Curb Surface
Ensure that the curb surface is clean and free of debris, dirt, and grease. Use a broom or brush to sweep away any loose dirt, and if necessary, use a mild detergent and water to scrub the surface clean. Allow the curb to dry completely before proceeding. This step is crucial to ensure proper adhesion and longevity of the paint.

Step 3: Measure and Tape the Area
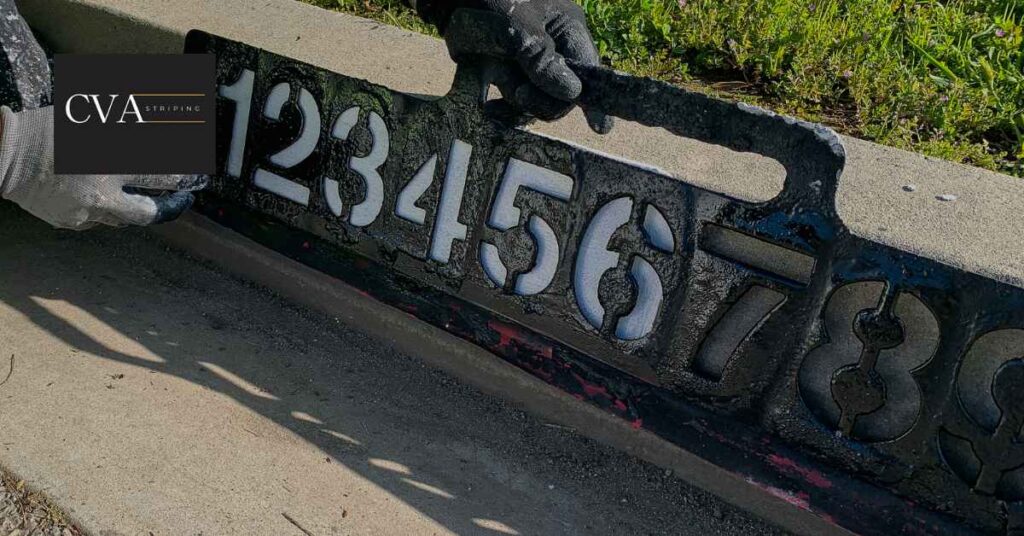
Using a measuring tape, mark the area where you plan to paint the house numbers. Use painter’s tape to outline the borders of the numbers, ensuring straight lines and proper spacing between digits. Take your time with this step to ensure precision and accuracy in the placement of the numbers.
Step 4: Sketch the Numbers
Using a pencil or chalk, lightly sketch the house numbers within the taped area. Take your time to ensure that the numbers are evenly spaced and properly aligned. This step serves as a guide for painting and helps ensure uniformity and readability of the numbers.

Step 5: Apply Primer (If Necessary)
If the curb surface is porous or has existing paint that may affect the adhesion of the new paint, consider applying a primer first. This will help create a smooth and even surface for painting the numbers, ensuring better color coverage and longevity of the paint job. Allow the primer to dry completely before proceeding to the next step.
Step 6: Paint the Numbers
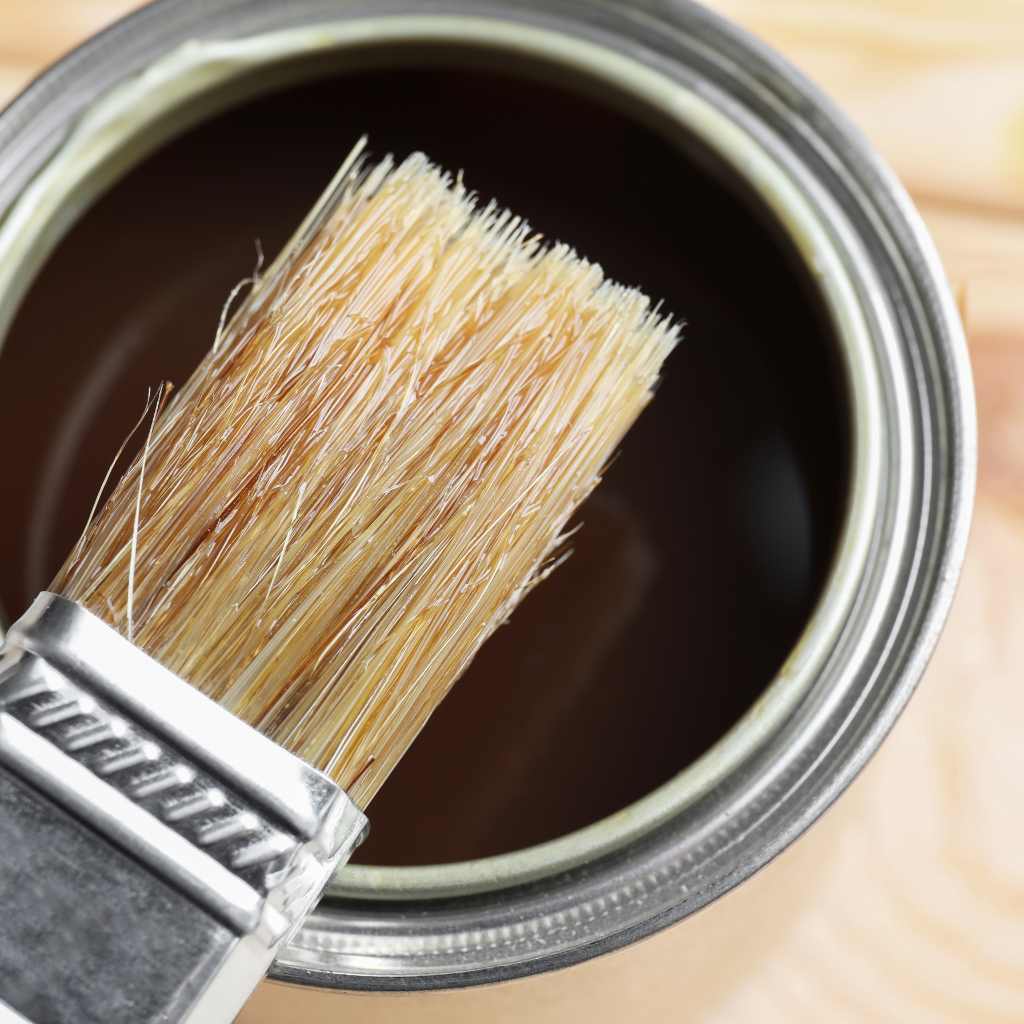
Using outdoor paint in your chosen color, carefully fill in the sketched numbers using a paintbrush or roller. Apply the paint evenly and cover the entire area within the taped borders. Take your time with this step to ensure clean lines and full coverage of the numbers. Multiple thin coats may be necessary for best results.
Step 7: Add a Second Coat (If Needed)
Once the first coat of paint has dried completely, assess if a second coat is necessary for full coverage and vibrancy of color. Apply a second coat if needed, following the same process as before. This additional layer of paint will enhance the durability and visibility of the numbers, especially in harsh weather conditions.
Step 8: Remove Tape and Clean Up Edges
After the paint has dried, carefully remove the painter’s tape to reveal clean, crisp edges. Use a small brush to touch up any areas where the paint may have bled under the tape. This final step helps ensure professional-looking results and adds to the overall aesthetic appeal of the painted curb numbers.
Step 9: Apply Protective Sealant
To ensure the longevity of your painted curb numbers, consider applying a protective sealant over the painted area. This will help protect the paint from fading, chipping, and other weather-related damage, prolonging the life of your curb numbers. Follow the manufacturer’s instructions for proper application and drying times.
Step 10: Maintenance Tips
Regularly inspect your painted curb numbers for any signs of wear or damage, and touch up as needed to maintain visibility and curb appeal. Additionally, consider reapplying protective sealant every few years to prolong the life of the paint. By staying proactive with maintenance, you can ensure that your painted curb numbers remain clear, legible, and attractive for years to come.
Boost Your Curb Appeal with Professionally Painted House Numbers
Make your house numbers pop with professionally painted solutions from CVA Line Striping. Clear and visible numbers enhance your home’s aesthetic and ensure easy navigation for visitors and emergency services. Our services, including line striping and painting address numbers on curbs, are designed to improve both the aesthetics and functionality of your home exterior. With meticulous attention to detail and expert craftsmanship, we specialize in painting house numbers on curbs, painting street numbers on curbs, and sidewalk house number painting, ensuring that your house numbers stand out with clarity and style. Let us help you create a lasting impression and make navigation easier for guests, delivery drivers, and emergency responders.
Painting House Numbers on Curb FAQs
How Much Does It Cost to Paint Curb Numbers?
The cost of painting curb numbers can vary depending on several factors, like the size and design complexity of the numbers, the type of paint used, and any additional services required, such as surface preparation or sealing. For accurate pricing tailored to your specific project requirements, it’s best to consult professionals like CVA Line Striping.
What Is the Best Size for House Numbers?
The best size for house numbers depends on various factors such as the distance from the curb to the house, the visibility from the street, and local regulations. As a general guideline, house numbers should be large enough to be easily readable from a distance, typically between 4 to 8 inches in height.
What Is the Most Visible Color for House Numbers?
The most visible color for house numbers is typically black or dark blue, as they provide a strong contrast against most curb surfaces. These colors stand out prominently, especially when placed on a lighter background.
Why Is It Important to Have House Numbers on the Curb?
House numbers on the curb help visitors, delivery services, and emergency responders identify themselves easily, facilitating efficient navigation and potentially saving lives during emergencies.
How to Make House Numbers Stand Out?
Choose large, contrasting colors to make house numbers stand out and ensure they are well-lit and unobstructed for optimal visibility.
Should House Numbers Be Vertical or Horizontal?
The orientation of house numbers, whether vertical or horizontal, depends on personal preference and architectural style. Both orientations can be effective if they are clearly visible and easily read.